How to Prepare a Bottle of Breastmilk
Whether it happens on day one or several months in, it’s always a big deal feeding your little one from a bottle for the very first time. Though it seems like bottle feeding should be intuitive, for most moms and dads, there’s a learning curve. That’s why we put together this guide on the best way to prepare a bottle of breastmilk from start to finish.
Not only are there ideal ways to express breast milk to maximize your supply, there are also safe guidelines you’ll want to follow for preparing a bottle of breast milk for your little one. We’ll share our top tips for easy bottle prep while ensuring it’s a bottle that your baby will happily take.
Before getting that first bottle of breast milk ready to go, you’re likely wondering when to make the transition from breast to bottle in order to make it go smoothly, so let’s start there.

When to Introduce a Bottle to Breastfed Baby
Most parents who want to get the bottle prep right from the beginning are also wondering when to make the introduction. We won’t spend too much time here as we wrote a full post on “How to Wean Your Baby From Breast to Bottle,” but ultimately, you’ll need to decide when the best time is to give your baby that first bottle.
Here’s what we recommend for timing of bottle introduction:
-
Don’t let other parents’ choices influence when the time is right for YOU. Only you can know when it’s the right time to introduce your breastfed baby to a bottle. Your circumstances aren't the same as someone else's so try not to compare. And just because you’re giving your baby a bottle doesn’t mean that you can’t continue to breastfeed as well. With that said, if you want to be sure that offering a bottle won’t interfere with your breastfeeding, the consensus is to wait until breastfeeding is well-established, as outlined by LLI. Four weeks is a good rule of thumb, but many parents will offer a bottle sooner with success. (Use your mama intuition on this one!)
- Introduce a bottle during a low-stress period of time. Big life changes are stressful on you and they are on your baby, too. This isn’t the best time to introduce a bottle if you can avoid it. For example, if you know your baby will need to take a bottle when you go back to work, don’t wait until that time comes. Utilize the two weeks prior to get your baby used to taking a bottle and that way, when there isn’t a choice, it will go much more smoothly for both of you.
Whatever you decide, move forward without guilt. Remember that fed is best no matter what. And besides, bottle-feeding is a great way to let dad have some special quality time with his little one as we discuss in our article, “Our Best Newborn Advice for Dads.”
Once you’ve decided it’s time to give your baby their first bottle, you’ll want to follow the steps we’ve outlined below to ensure your baby gets the perfect bottle of breastmilk every time.
Steps to Prepare a Bottle of Breastmilk
If you’re thinking, “How hard can it be to prepare a bottle of breastmilk?” we’re with you. You’re right...it’s not THAT hard. However, there are important steps (like safe warming) you’ll want to follow and we also have advice on how to make the process easier. Because the first time you try to prep a bottle with a screaming baby in one arm, you’ll KNOW.
Step 1: Express and Collect Breast milk
The first step in preparing a bottle of breast milk is expressing the breast milk. Though hand-expression is possible, it’s far from ideal. You’ll need a pump that allows you to comfortably and effectively express milk. By effectively, we mean a pump that allows you to completely drain your breasts every time you pump.
The easiest and fastest way to pump is with a double electric breast pump (and you can even find them in hands-free versions). Though in certain situations, perhaps if you only want to pump while your baby is feeding on one side, you may want to consider a hand pump or a single-electric pump. If you aren’t sure which is right for you, we go over each type as well as how to get the proper fit in our post, “Best Breast Pumping Tips for New Moms.”
No matter which method you choose, you’ll need to collect the breast milk in clean bottles or breastmilk storage bags. Storage bags work best if you plan to build up a large freezer stash of milk to feed your baby at a later time. (Don’t forget to write the date on all of your bottles and storage bags...we’ll tell you why this matters in a bit!)
RELATED: How to Collect, Store, and Transfer Breast Milk Easily and Safely
Step 2: Refrigerate or Freeze Expressed Milk
After expressing your breast milk, you’ll need to refrigerate it or freeze it using safe storage guidelines. Freshly expressed milk can be immediately fed to your baby or needs to be moved to the fridge/freezer within about 4 hours.
Breast milk can be safely stored in the refrigerator for up to 5 days and in a typical freezer for about 9 months. I recommend always having some refrigerated breast milk on hand, because thawing breast milk may take longer than your baby is happily willing to wait.
Step 3: Use a Sterilized Bottle Ideal for Breastfeeding
Before giving your baby a bottle for the first time, you’ll need to find a bottle that they’ll take. Ideally, you’ll want to look for a bottle that mimics the breastfeeding experience - especially if your baby has been breastfeeding for awhile. This will make the transition go more smoothly.
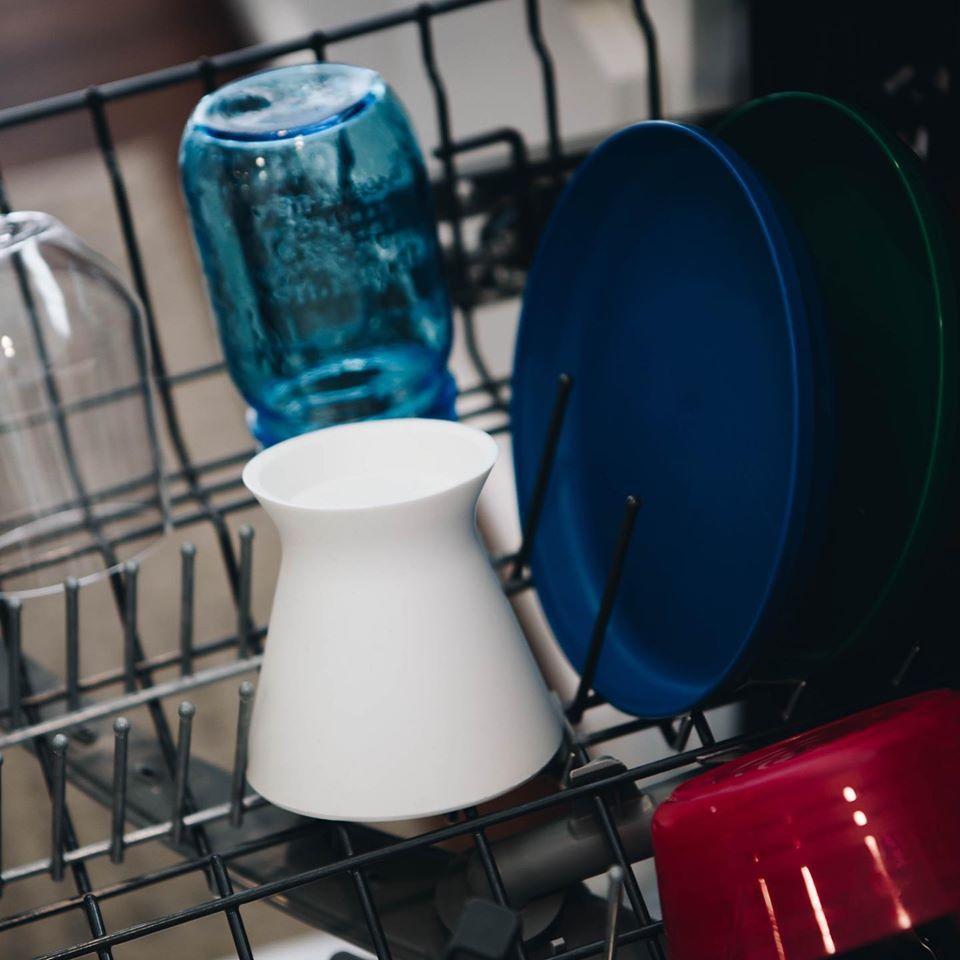
Be sure that all of your bottles are fully cleaned before using them. A thorough hand-washing with dish soap works well, or there are also many bottles that are dishwasher safe. As far as if you need to sterilize on top of washing, this is usually a step that’s good for extra protection but isn’t usually necessary. The CDC recommends a sanitizing step if you’re feeding an infant under 3 months or if they have a weakened immune system.
You may think you have the perfect bottle only to find that your baby thinks otherwise. This is normal, so just be ready to switch out bottles if you find this is the case.

Step 4: Utilize Tools to Streamline the Bottle Prep Process
Having a bottle your baby loves is important to making the bottle-feeding process an enjoyable one. But we have something else that’s going to make the process more streamlined for you, too.
Once you have the steps down, bottle prep is easy enough. But with as many times a day as your baby eats, you end up spending a lot of time preparing, giving and cleaning bottles. And the last thing you want when prepping those bottles is to spill any milk. Not only do you NOT want to have to clean it up, it's also a real gut punch when you lose any of that precious liquid gold.
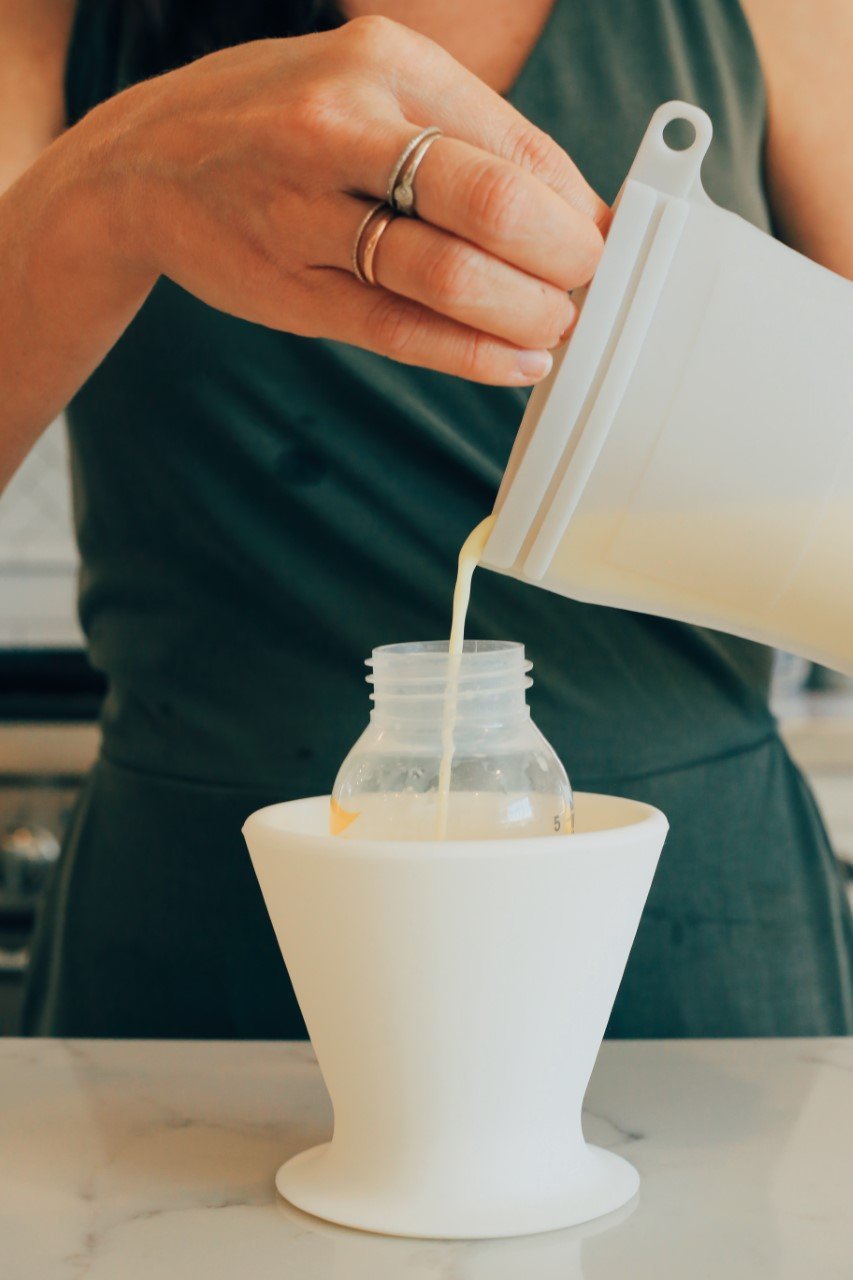
The bökee is the tool you need to make preparing a bottle of breastmilk a quick endeavor. Whether you’re pouring breastmilk from bottle to bottle or bag to bottle, the bökee secures your baby’s bottle in place so you don’t drop an ounce of breast milk. If we know one thing, it’s that babies don’t want to be put down just so you can make their bottle...but then you'll have to prep a bottle one-handed. This often results in spilled milk, but not with the bökee. To find out just how great it is read, "The Bökee: The Bottle Prep Accessory Parents Need."
Step 5: Thaw and/or Warm Breast milk
Once it’s coming up on time for your baby’s bottle, you’ll want to start getting your little one’s bottle ready. For a baby that’s on more of a schedule, you’ll likely know when you need to have them ready. But baby’s hunger doesn’t always follow the clock, so knowing how to quickly prepare a bottle is important.
Let’s talk about how to get that bottle warmed up in the easiest way possible.
If Frozen, Thaw First: If you only have frozen milk on hand, you need to thaw it before you can warm it. Earlier I told you to write the date on your expressed milk container and that’s so you know it’s safe to use and so you can use the oldest breastmilk first. Defrosting in the fridge is best, but if you need a bottle immediately, you can thaw the milk in a warm (not hot) bowl of water. Give it a shake here and there to break up the ice until it’s completely thawed.
Warming Breast Milk From the Refrigerator/Thawed: Once you have your thawed milk in hand, it’s time to get it warmed up to a safe temperature. Here’s what you need to know to safely warm a bottle of breast milk:
- Whether you are warming breast milk or formula, you always have to take care not to overheat the milk. Overheating can lead to hot spots which could burn your baby’s mouth and throat which is why you should never warm your baby’s milk in the microwave or hot water.
- The ideal temperature for breast milk is 98.6 degrees. A little warmer is ok, but anything over 103 degrees will destroy precious breastmilk nutrients so it’s better to err on the side of too cool than too warm.
- The best way to ensure that your baby is getting breast milk at the right temperature is to use a bottle warmer that allows you to choose your desired temperature. The Baby’s Brew, for example let’s you choose between 4 different temperatures, 2 of which are perfect for breast milk. We love this option for peace of mind, plus it works with our favorite bottle prep tool we discussed earlier, the bökee.
- You can also place your baby's bottle in a bowl of warm water or under a warm tap works, too. Just be sure to test it on your wrist before giving it to your baby.
Do you need to warm your baby’s bottle? If your baby is happy to take milk that hasn’t been warmed than that is totally fine! Even chilled milk won’t hurt your baby if they’re happy to drink it, though many families find that a baby is much more likely to take milk if it’s warmed (especially if they are used to drinking body temperature breast milk.)

Step 6: Feed Your Baby!
Once you’ve warmed your baby’s bottle, it’s time to feed your baby. Feeding a baby with a paced approach is a great way to mimic the breastfeeding experience. If you’d like to try to this method of feeding, we discuss how to do it along with its benefits in our article, “How Paced Feeding Will Benefit Your Baby.”